Please wait...
How to Replace the Overlap Arm on Your 5600: A Step-by-Step Guide
This entry was posted 06/03/2024
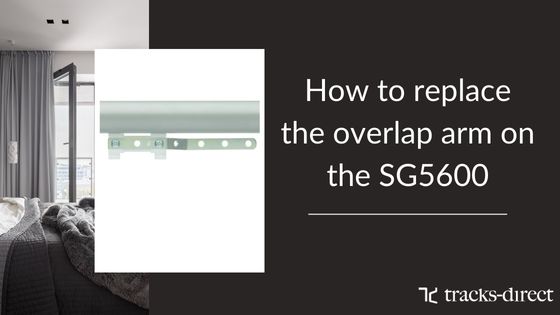
If you own a Silent Gliss 5600 Electric Curtain Track, you know how important it is to keep all its components in good working order. One crucial part that may occasionally need replacement is the overlap arm. Whether it's due to wear and tear or accidental damage, knowing how to replace it can save you time and money. In this guide, we'll walk you through the process step by step.
Step 1: Gather Your Tools
Before you begin, make sure you have a Phillips screwdriver handy. This will be the primary tool you'll need for the job.
2: Disassemble the Master Unit
Start by disassembling the master unit. Push out the U-shaped grip and pull out the ladder bit, then slide it towards the centre. Remove the cover from the end and carefully take out the gliders one by one.
Step 3: Remove the Overlap Arm
Locate the two Phillips screws securing the overlap arm and remove them. Take off the clip at the end that holds the motor in place. Remove the motor holder and the remaining gliders. Pull off the end set and extract the belt.
Step 4: Prepare the Replacement
Unclip the connectors attaching the belt to the master. Unthread the belt and pull out the other end. Now, take the replacement master and insert the clip into the bottom. Refeed the belt around the return and reattach the clip to the end.
Step 5: Reassemble the Unit
Slide the replacement master along the channel and put the return back on. Carefully feed the gliders back on one by one. Place the cover back on the end.
Step 6: Finalise the Assembly
Attach the overlap arm back onto the pilot and master pilot. Put the button in place and attach it to the wheel. Slide the motor case back on the end and reconnect the connector to the pilot. Finally, put the overlap arm back into the pilot and place the lid in between.
We have created a step by step video to help guide you thought the process:-
So, you've successfully replaced the overlap arm on your Silent Gliss 5600 Electric CUrtain Track. Regular maintenance and occasional replacements like this can help prolong the lifespan of your equipment and ensure smooth operation. Remember, if you ever need further assistance, don't hesitate to refer back to this guide or seek professional help. Thank you for choosing our tutorial, and happy repairing!
This entry was posted on 06/03/2024
